Quick Overview of Content Library
- Filters & Tags – Quickly find the content you need.
- Content Preview & Review – Easily Approve, reject, or request changes to submitted content within your team or with external partners.
- Usage Rights – Assign specific content rights and permissions to never lose oversight.
- Uploading Content – Easily manage content in the inbox before it is saved to your library.
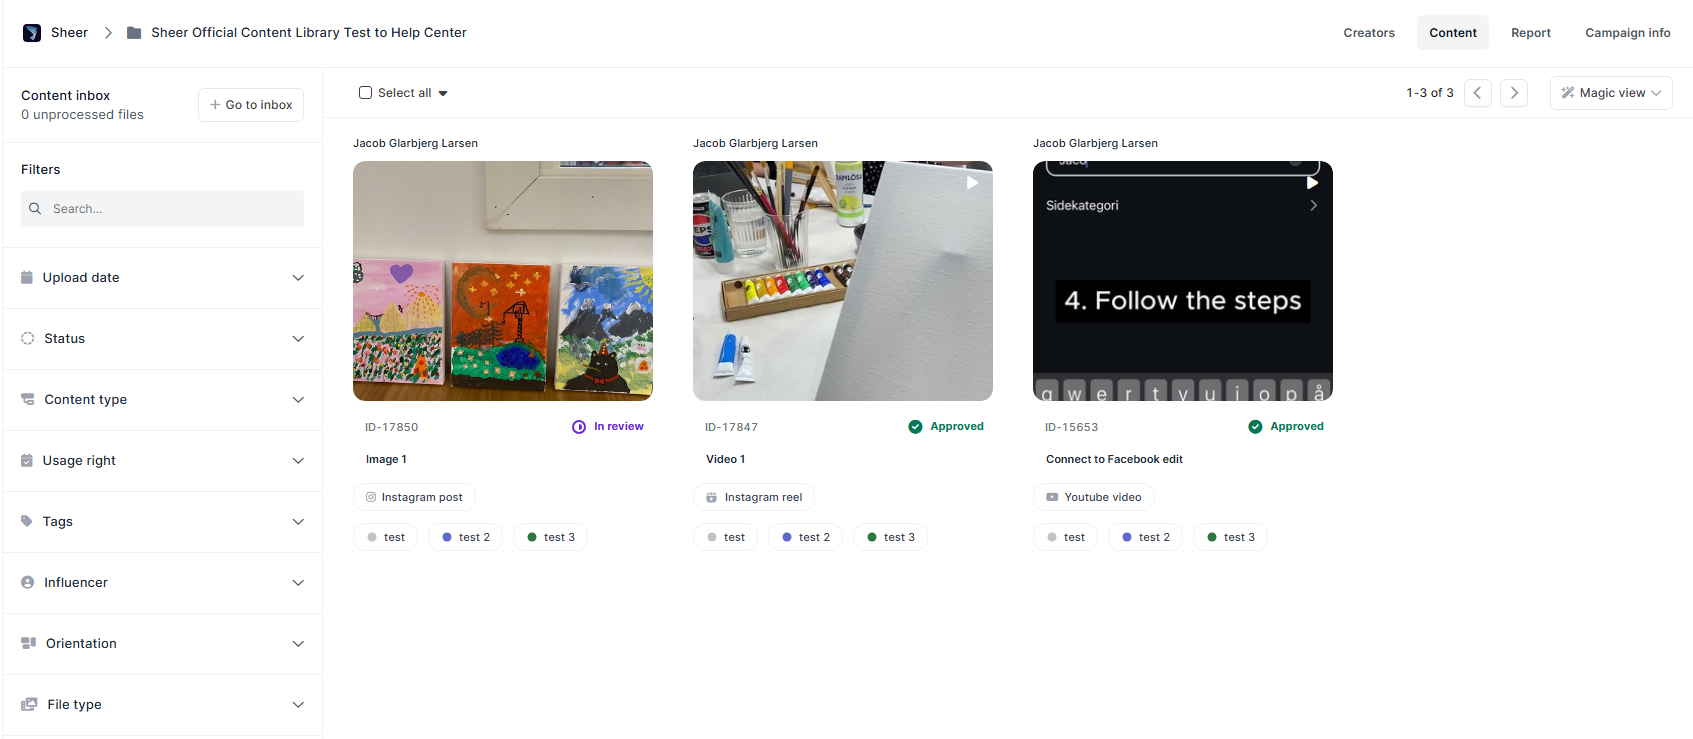
Filters & Tags
- Filters - Tons of applicable filters in the left-hand side of the Content library, making contnet easily searchable.
- Tags - Create specific tags to never lose track of key content.
Content Preview & Review
- Content Preview - Click on any piece of content to directly view it in Sheer. Videos can be played directly in the browser.
- Content Assets - You are able to store multiple versions of the same content piece.
- Tip! This is ideal for videos or images that are identical as a whole, but are provided in different formats, with or without text and music, etc.
- Content Review - Sheer has a build in Content Review for the platform. this allows your team or an external partner to approve and reject content with a single click - making it easy for everyone in your organization to check the status of each individual content for the campaign.
- Comments Track on content - There is a comments track under each content where detailed feedback or notes can be provided for an ongoing dialogue. These comments are only visible for those with access to Sheer, so not the creator themselves.
Usage Rights
Track the specific details regarding content you’ve secured usage rights for in Sheer’s content library. Expired content will still be visible in the content library, but will clearly be labelled as expired to avoid any confusion regarding its status.Usage Rights Templates
Usage rights templates can be applied to multiple pieces of content at once in the content library, or on all campaign content at once if the usage rights expire at the same time. There are two kinds of templates that can be created for usage rights:- Date specific template - Where the template start and end on specific dates.
- Example: You have a campaign where all content expires on 30/5/2027. You can create a template that applies content rights that expire on the exact specified date, when you apply the usage rights template in Sheer.
- Time specific template - Where a set amount of time usage rights are available when assigned to the specific piece of content.
- Example: You have a campaign where you have 30 days of usages rights from the day you recieve the content. You can then create a template to apply 30 days of usage rights to a piece of content, when the usage rights template is applied to content in Sheer.